
Mind Mup 2 is one of the leading mind-mapping platforms, which attracts a lot of users thanks to the ability to integrate with Google Drive effectively. If so, what should you do to make a mindmap with MindMup 2? For a deeper understanding, let’s check our guide below.
In this article, we will show you how to use Mind Mup 2, as well as the way to add MindMup 2.0 to Google Drive. Well, let’s get in!
Table of Contents
Why Should You Use Mind Mup 2?
Mind Mup 2 is a free mind mapping solution, allowing users to easily connect with Google Apps within simple steps. Basically, this platform can help you with plenty of tasks without having any MindMup 2 download, including:
- Note down any idea or thought
- Add images and files easily
- Support your mindmap design with a faster speed
- Provide a user-friendly interface dashboard
- Safe to work together, and share documents
How To Create A Mindmap With Mind Mup 2 With 6 Steps
Step 1 – Open a new map on MindMup 2
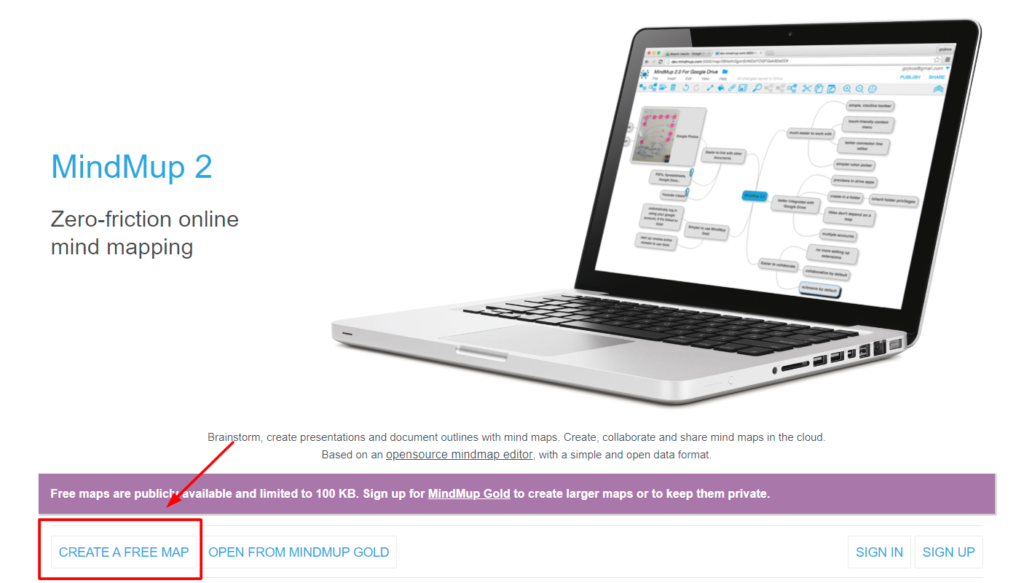
First, visit https://app.mindmup.com/ to reach the official website of Mind Mup 2. Then, click Create A New Map to open a new map.
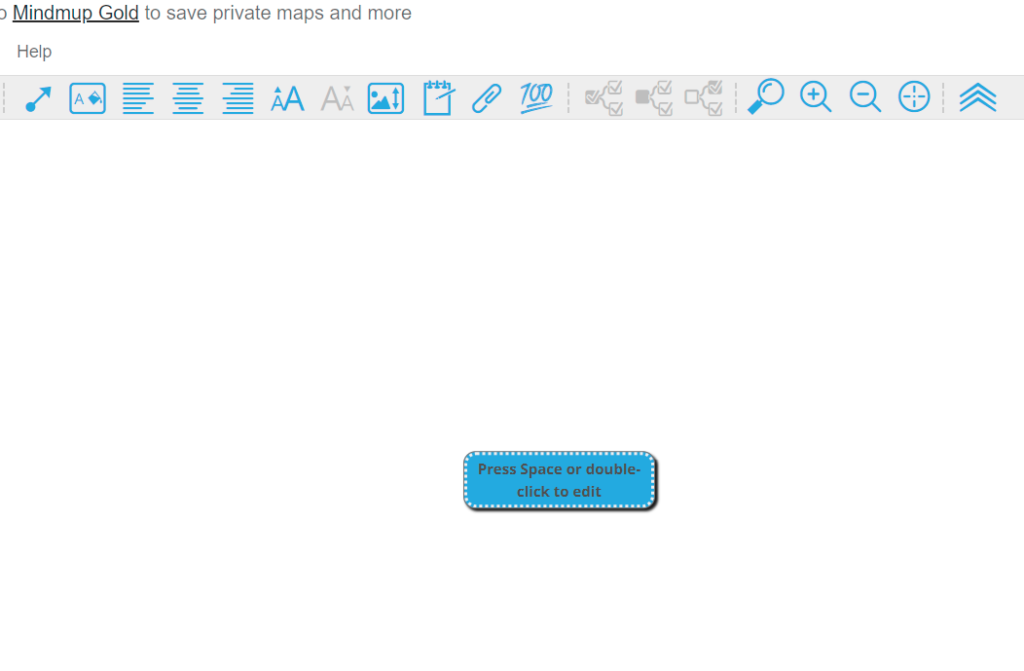
On the new map, you will see a central-topic node in the middle.
Step 2 – Create topic nodes for your mind map
To begin with editing the central node with Mindmup 2.0 Online, double-click or press the Space bar to illustrate your main idea. Then, you will have 3 ways to add sub-topics, including:
- (1) Click Insert Child Node on the Menu bar
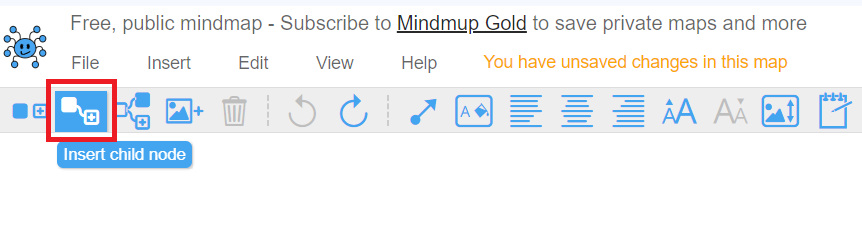
Alt tag: Click Insert Child Node on Menu bar
- (2) Click the Central node and enter Tab key
- (3) Righ-click and select Insert Child from the small tab
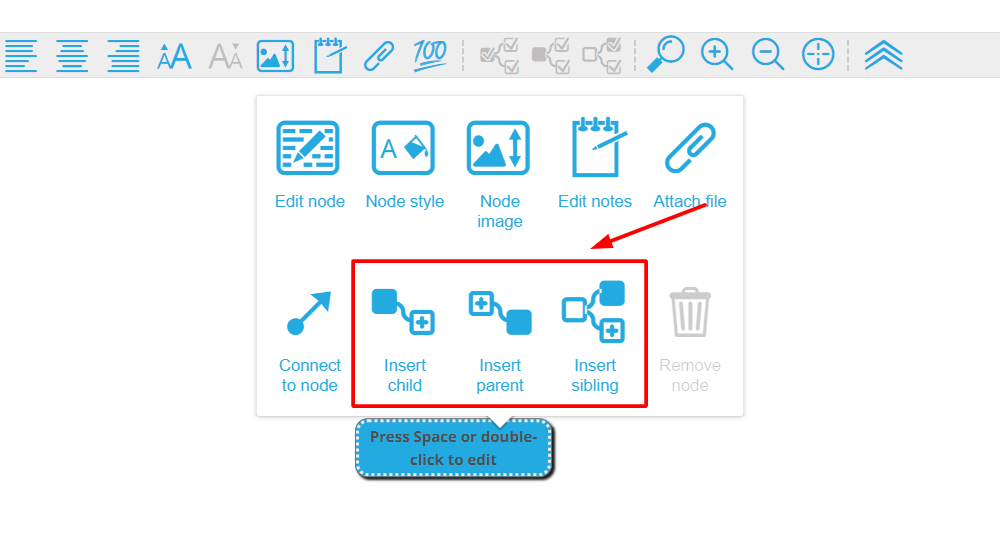
After that, click the subtopic nodes and enter a short description.
Note: You can select Insert sibling node or even Insert Image, depending on your demands. Thus, let’s consider all things to create the best structure for your Mind Mup 2 mindmap.
In case you want to delete any node, please click that node and follow one of the 3 options, such as:
- (1) Click Bin icon on the Menu bar
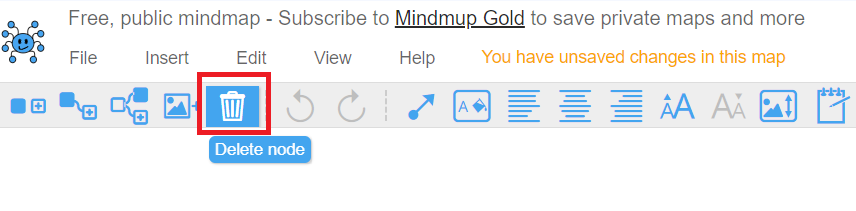
- (2) Enter Delete key on your keyboard
- (3) Right-click and select Remove node in the small tab
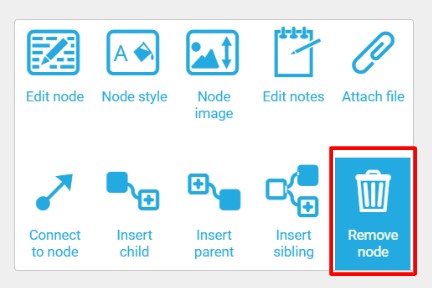
Click Remove node
Alt tag: Click Remove node
Step 3 – Connect topic nodes
With the third step, let’s determine whether you need to link between topic to topic or subtopic to another subtopic. Then, select the node as the original point, and follow one of the 3 ways, including:
- (1) Click Connect to another node on the Menu bar
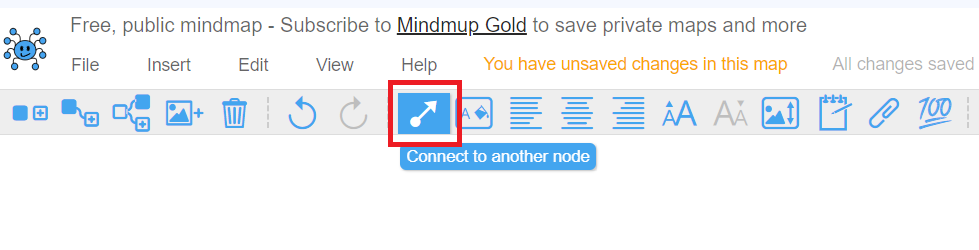
Select Connect to another node
Alt tag: Select Connect to another node
- (2) Right-click and opt for Connect to node
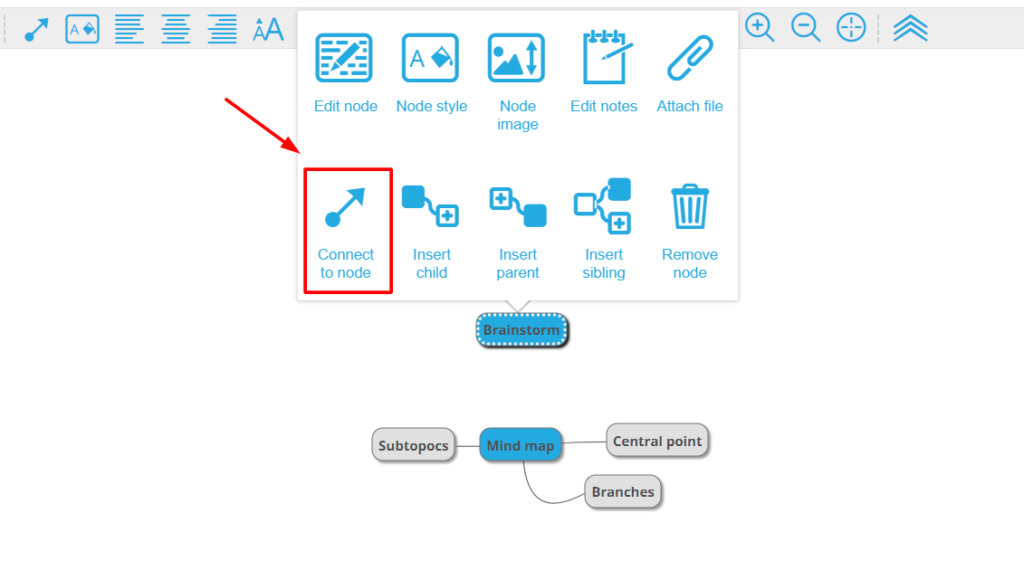
Right-click to select Connect to node
Alt tag: Right-click to select Connect to node
- (3) Hold the Alt key
Finally, select the targeted node to end this step of designing a mindmap with Mind Mup 2.0.
| When designing your mindmap with MindMup 2, you can work with some additional features, including: Add notes: Click the node and select Edit text notes on the Menu bar/ right-click to opt for Edit notes. Add file: Select the node, and click Insert, then File Attachment on the Menu Bar. Or else, right-click on the node and select Attach File. |
Step 4 – Customize all elements of your design
In this step, we show you how to customize your Mind Mup 2 design with 2 main elements, including lines and nodes.
- Connection Line Styles: Click any branch you want to edit. Then, select one of the following options: Label line, Add arrow, Line color, Dashed line, Thicker/thinner line, Reset to default, Remove line.
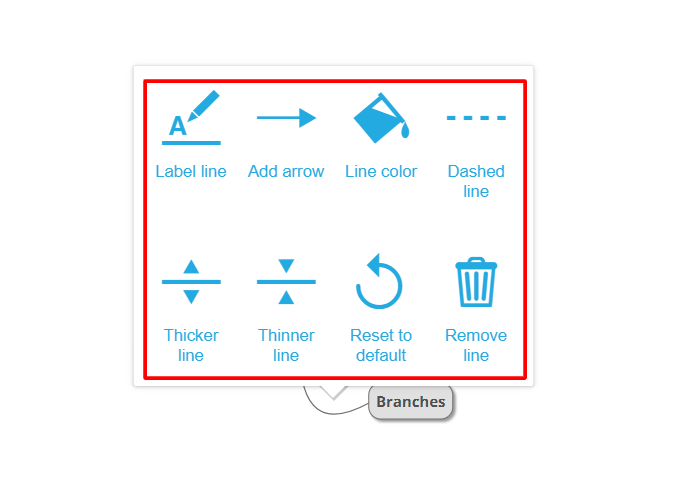
Modify the line on Mind Mup 2
Alt tag: Modify the line on Mind Mup 2
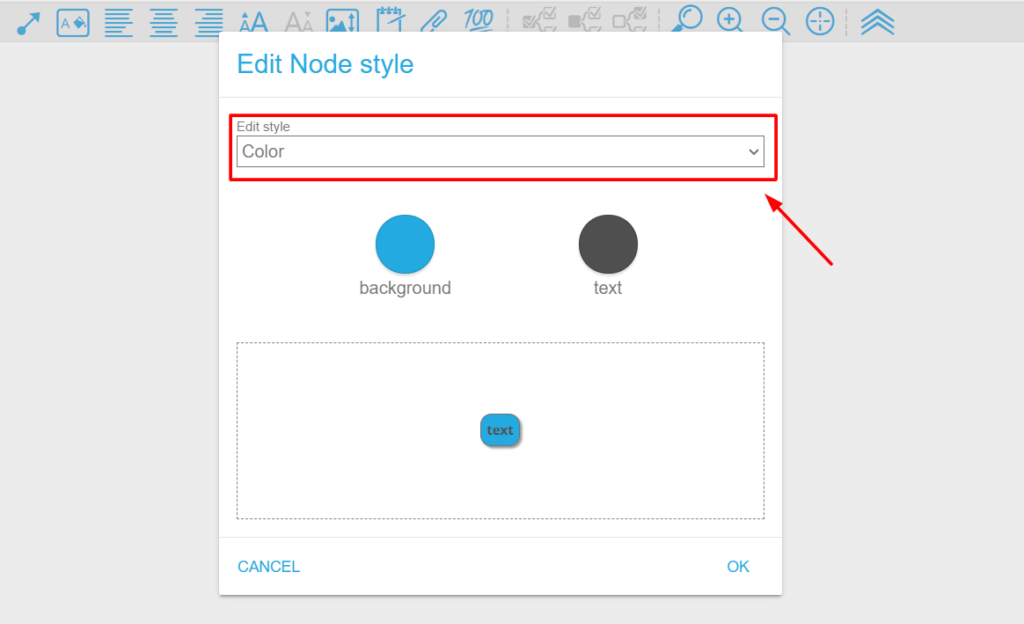
- Individual Node Styles: Click the node, and select the Node style. In the Edit Node Style tab, select any style you need to modify from the dropdown menu: Color, Text size, Corners, Font, and Border.
Step 5 – Add a theme for your mind map
Adding a theme is a notable point in MindMup 2.0 Online that you hardly find on any other platform. To begin with, click View in the left-top corner, and select Map theme in the dropdown tab.

After that, select a proper suggestion to use for your design. However, we recommend you try several options below:
- Bottom-up (beta)
- Bottom-up Simple (beta)
- Top-down Standard
- Top-down Simple
Step 6 – Download the final version
Once reviewing all elements in detail, you can export the final version for presentation. From the File tab, click Download As and select a proper format (MindMup, PDF, Freemind, Image, Outline, Notes, and Storyboard).

In case you want to share this Mind Mup 2 mindmap with others, you need to sign in to your Microsoft Office or Google from scratch. After, click the File tab and select Share.
In the Map Sharing Information tab, fill others’ emails in the Share with Emails box, then select “View and Edit” or “View Only” to provide access rights for others. After that, click the Allow Access button to finish.
How To Use MindMup 2.0 For Google
If you want to use MindMup 2 for Google, let’s follow several steps below:
- Step 1: Log in to your Google Drive Web app.
- Step 2: Click the Drive Settings icon and select Manage Apps in your Google Settings popup dialog.
- Step 3: Select Connect More Apps to navigate to your Google Drive header.
- Step 4: Search for “MindMup 2.0 For Google Drive”
- Step 5: Click the Connect button to finish your installation.
- Step 6: In your Google Drive window, click the New button and select MindMup 2.0 For Google Drive from the More to start your designing journey.
Conclusion
Our blog has just shown you how to use Mind Mup 2 to create a mind-mapping design. Depending on your demands, we believe that you will have proper modifications. Don’t forget to integrate with Google Drive to take advantage of other resources from Google.
Follow brainstormingidea.com today to grab fun tips and practical guide to use today!