
If you are looking for the proper mindmap design platform, don’t miss MindMeister Software. With its assistance, you can easily create a well-structured design with simple steps. To help you have the best experience, we have just prepared a detailed guide on how to use MindMeister below!
In this blog, there are 5 steps you need to follow to attain the finest results for your design, including:
- Step 1: Create a mind map in the Dashboard
- Step 2: Customize your current mind map
- Step 3: Optimize the mind map layout
- Step 4: Share your mind map with others
- Step 5: Export the final version
Let’s start learning how to create a perfect mind map with Mind Meister with us!
Table of Contents
Understand MindMeister Software
If you want to customize with MindMeister Software, it’s important to know about the MindMeister tutorial. It is great for you to prepare well for promoting a mindmap design.
What is MindMeister?
MindMeister is one of the most common web-based mind-mapping tools in the world. It offers users powerful features to create, collaborate, share, and represent any idea visually. Besides that, you can easily use elements like icons, images, links, text, or colors to make your final design outstanding with the public sight.
In case you want to use Mind Meister on mobile devices, let’s get a MindMeister software free download for Android or iOS platforms. After that, you need to activate your account to start the usage.
Pros and Cons
Below are some of our evaluations of the advantages and disadvantages of the mind mapping MindMeister. In particular:
Pros
- Have a user-friendly interface
- Allow to have collaboration among team members
- Friendly with Internet-connecting devices like mobile phones or laptops
- Easy to integrate with other platforms like Microsoft Teams, Google Drive, and Dropbox
Cons
- Limit features with a free Minmeister pricing plan
- Offline access is limited in most cases
How To Use MindMeister Software With 5 Steps
Step 1 – Create a mind map in the Dashboard
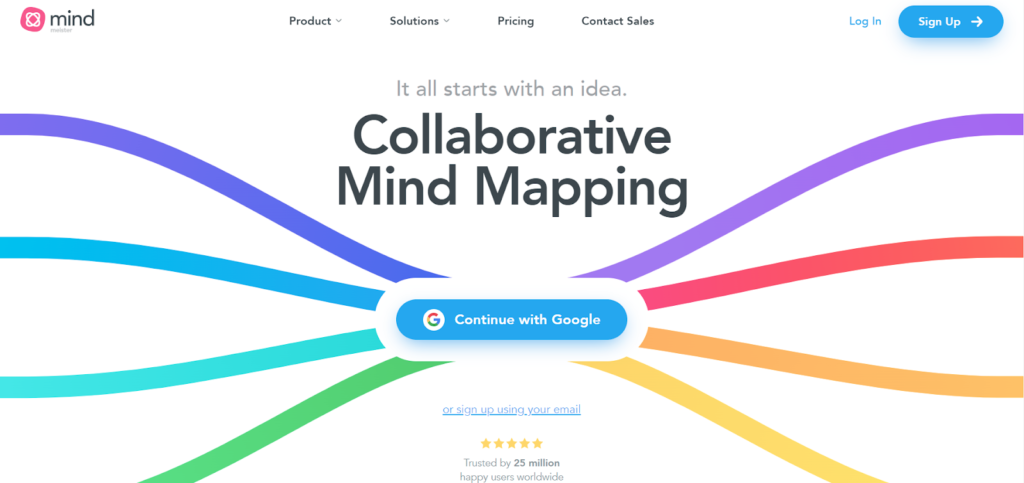
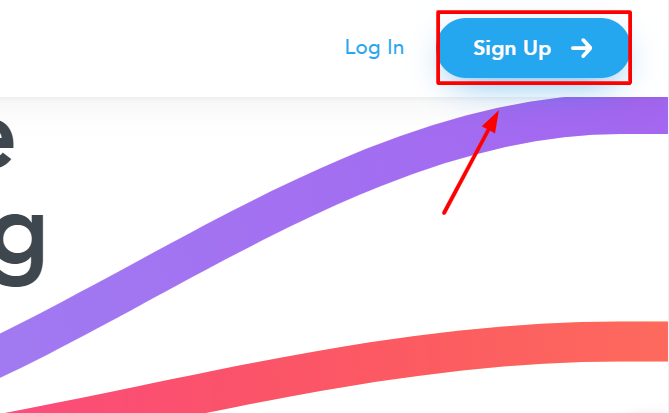
In http://www.mindmeister.com/, click Sign Up on the right top to register a new account on this platform.
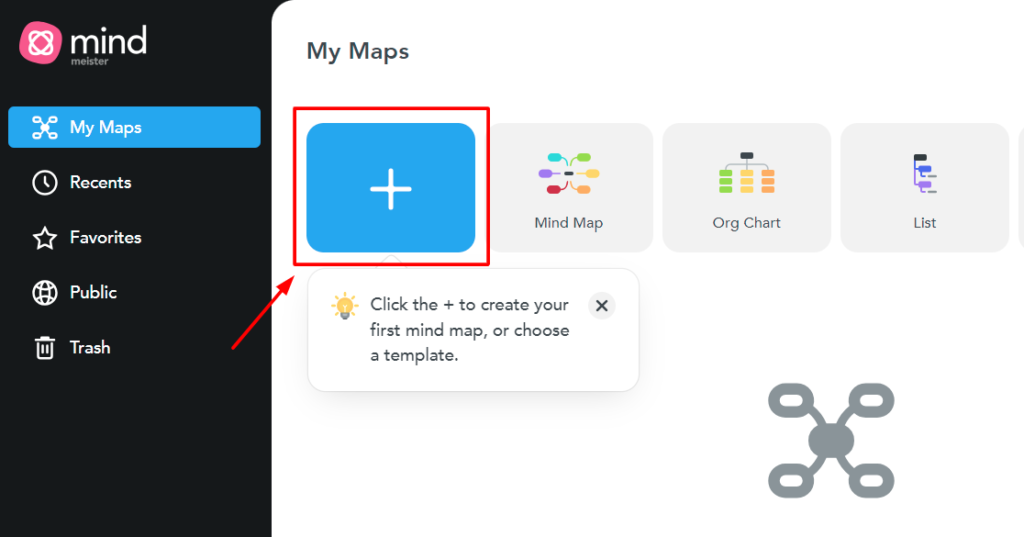
Then, fill in all information to access your MindMeister Dashboard. After that, click the plus icon (+) to create a mind map page.
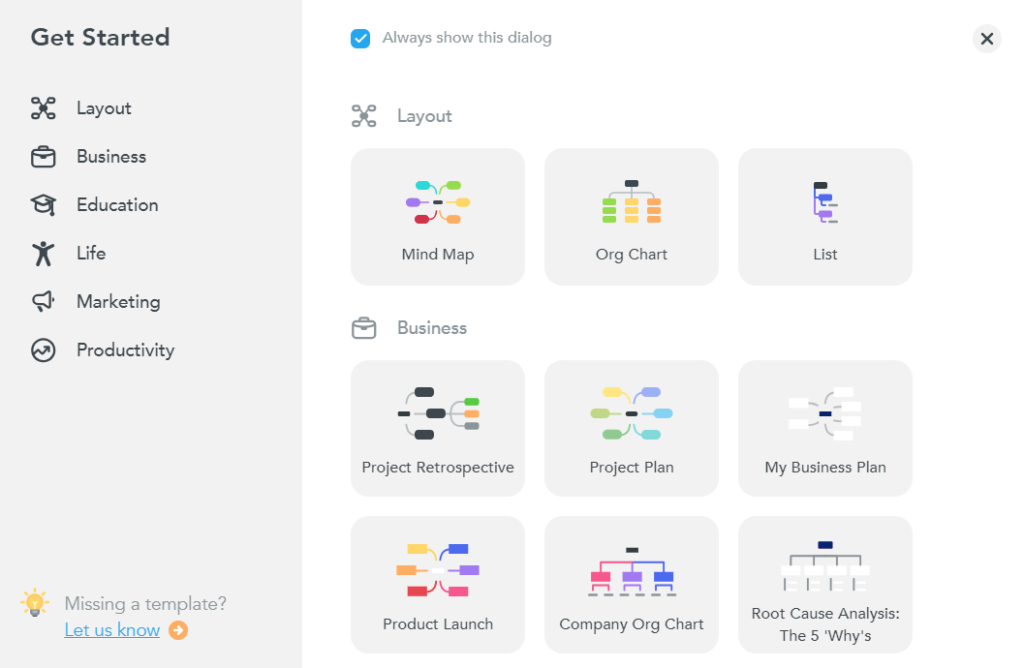
To finish this step, let’s select a proper template for your demands.
Step 2 – Customize your current mind map
In the second step, you can use various to tools to customize your mind map. Including:
#1. Map Editor
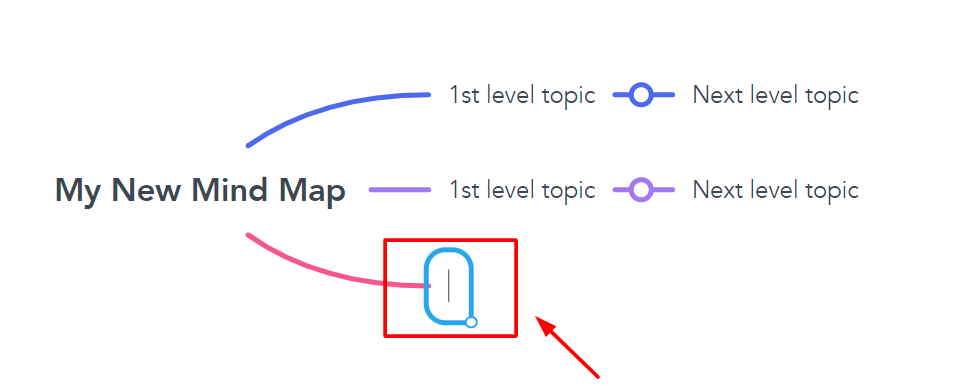
To activate the Map Editor, let’s use 2 keys “Enter” to create sibling topics and “Tab” to create subtopics.
#2. Styling toolbar
To use the Styling tool, select any topic and right-click to access advanced options. Basically, users can use 5 distinctive tabs, including:
- Icons: Customize with an icon or emoji for your topics
- Actions: Some common actions to consider such as uploading images, adding connections, adding attachments and comments, and assigning tasks
- Style: Change the appearance of your topic
- Layout: Modify the general layout
- More options: Edit, cut, or copy the map topic
Step 3 – Optimize the mind map layout
You can use auto-layout options to save time for this step. However, if you don’t find any sample to satisfy your demands, let’s do it manually. With the support of a friendly interface, you can easily drag and drop topics to any position you want. Besides that, you can disable auto-layout if necessary.
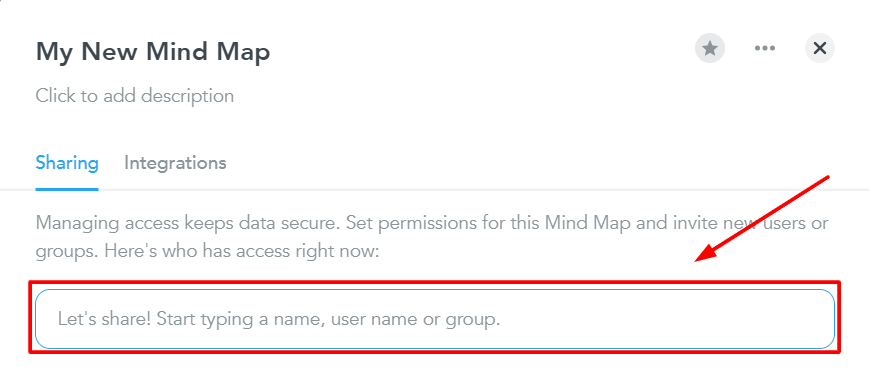
Step 4 – Share your mind map with others
In case you want to share your design with other team members, let’s use a shareable link or e-mail address to invite them to join. Plus, you can completely limit the rights of other users by setting up editing or read-only.
Step 5 – Export the final version
To download MindMeister mind-mapping file, let’s click the cloud icon on the top-left of the screen. Then, select Export to open a drop-down list.
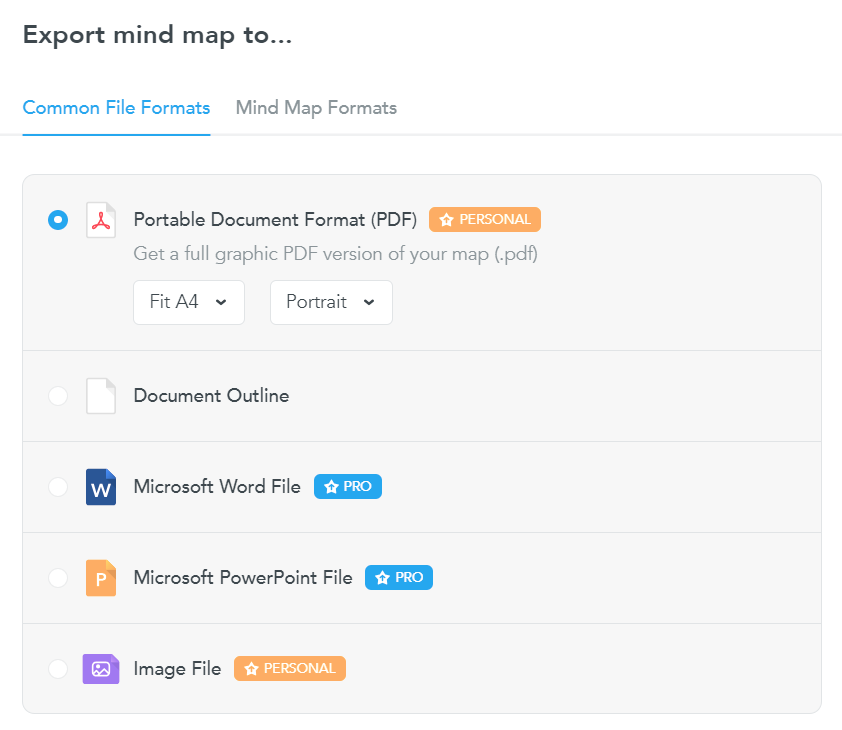
After that, opt for a proper file format to export the final version of your design and click Export to confirm your action.
Only with 6 simple steps, you can easily use MindMeister Software to support your mindmap-creating process.
Frequently Asked Questions
Can I use MindMeister for free?
Definite yes. With the free plan, you can use some of MindMeister tools to customize your design. They can include 3 mind maps and the right to real-time collaboration among members. However, you recommend you register for paid packages to access more features.
What are the cons of MindMeister?
With MindMeister, you can get stuck in some potential disadvantages, such as:
– No access whiteboard tool
– Limited features with a free plan
– Don’t deliver a presentation mode
Does MindMeister cost money?
Definitely yes. The MindMeister cost varies on which plan you register to promote your mind-mapping process. For example, with the Personal Plan, it normally costs you around $41.94/6 months to use unlimited mind maps.
Is MindMeister free in Office 365?
Actually yes. To access this status, you need to log in with your Microsoft 365 domain. However, let’s remember that if you have an available MindMeister Software account, you can not connect with your Office 365.
Final Thoughts
Our blog has just reviewed MindMeister Software and how to use it to promote a mind map design. To attain the finest results, keep in mind that brainstorming all necessary points before drawing anything on the board. Additionally, let’s use powerful tools to customize your mind map easily.
Follow brainstormingidea.com to get best tips and recommendation to host your brainstorming session successfully!